
Content
3 Claude skills for turning Instagram reach into customers
Jayant Joshi · 4 min read · August 13, 2026
Built Ootto and runs its Instagram on it
How to use this
1Connect Claude to Instagram
Connect Claude to your Instagram account
One click opens Claude with the connector already filled in - sign in, authorize, and it's live. No key to copy, no setup outside your browser.
https://mcp.ootto.ai/mcpConnect2Add the skills
Once Claude can reach your account, give it the methods to work with. Clone the free repository and Claude discovers the skills automatically.
git clone --depth 1 https://github.com/Ootto-AI/claude-content-skills.git && bash claude-content-skills/install.shBrowse all 30 skills on GitHubInstructions: how to connect your Instagram account to Claude
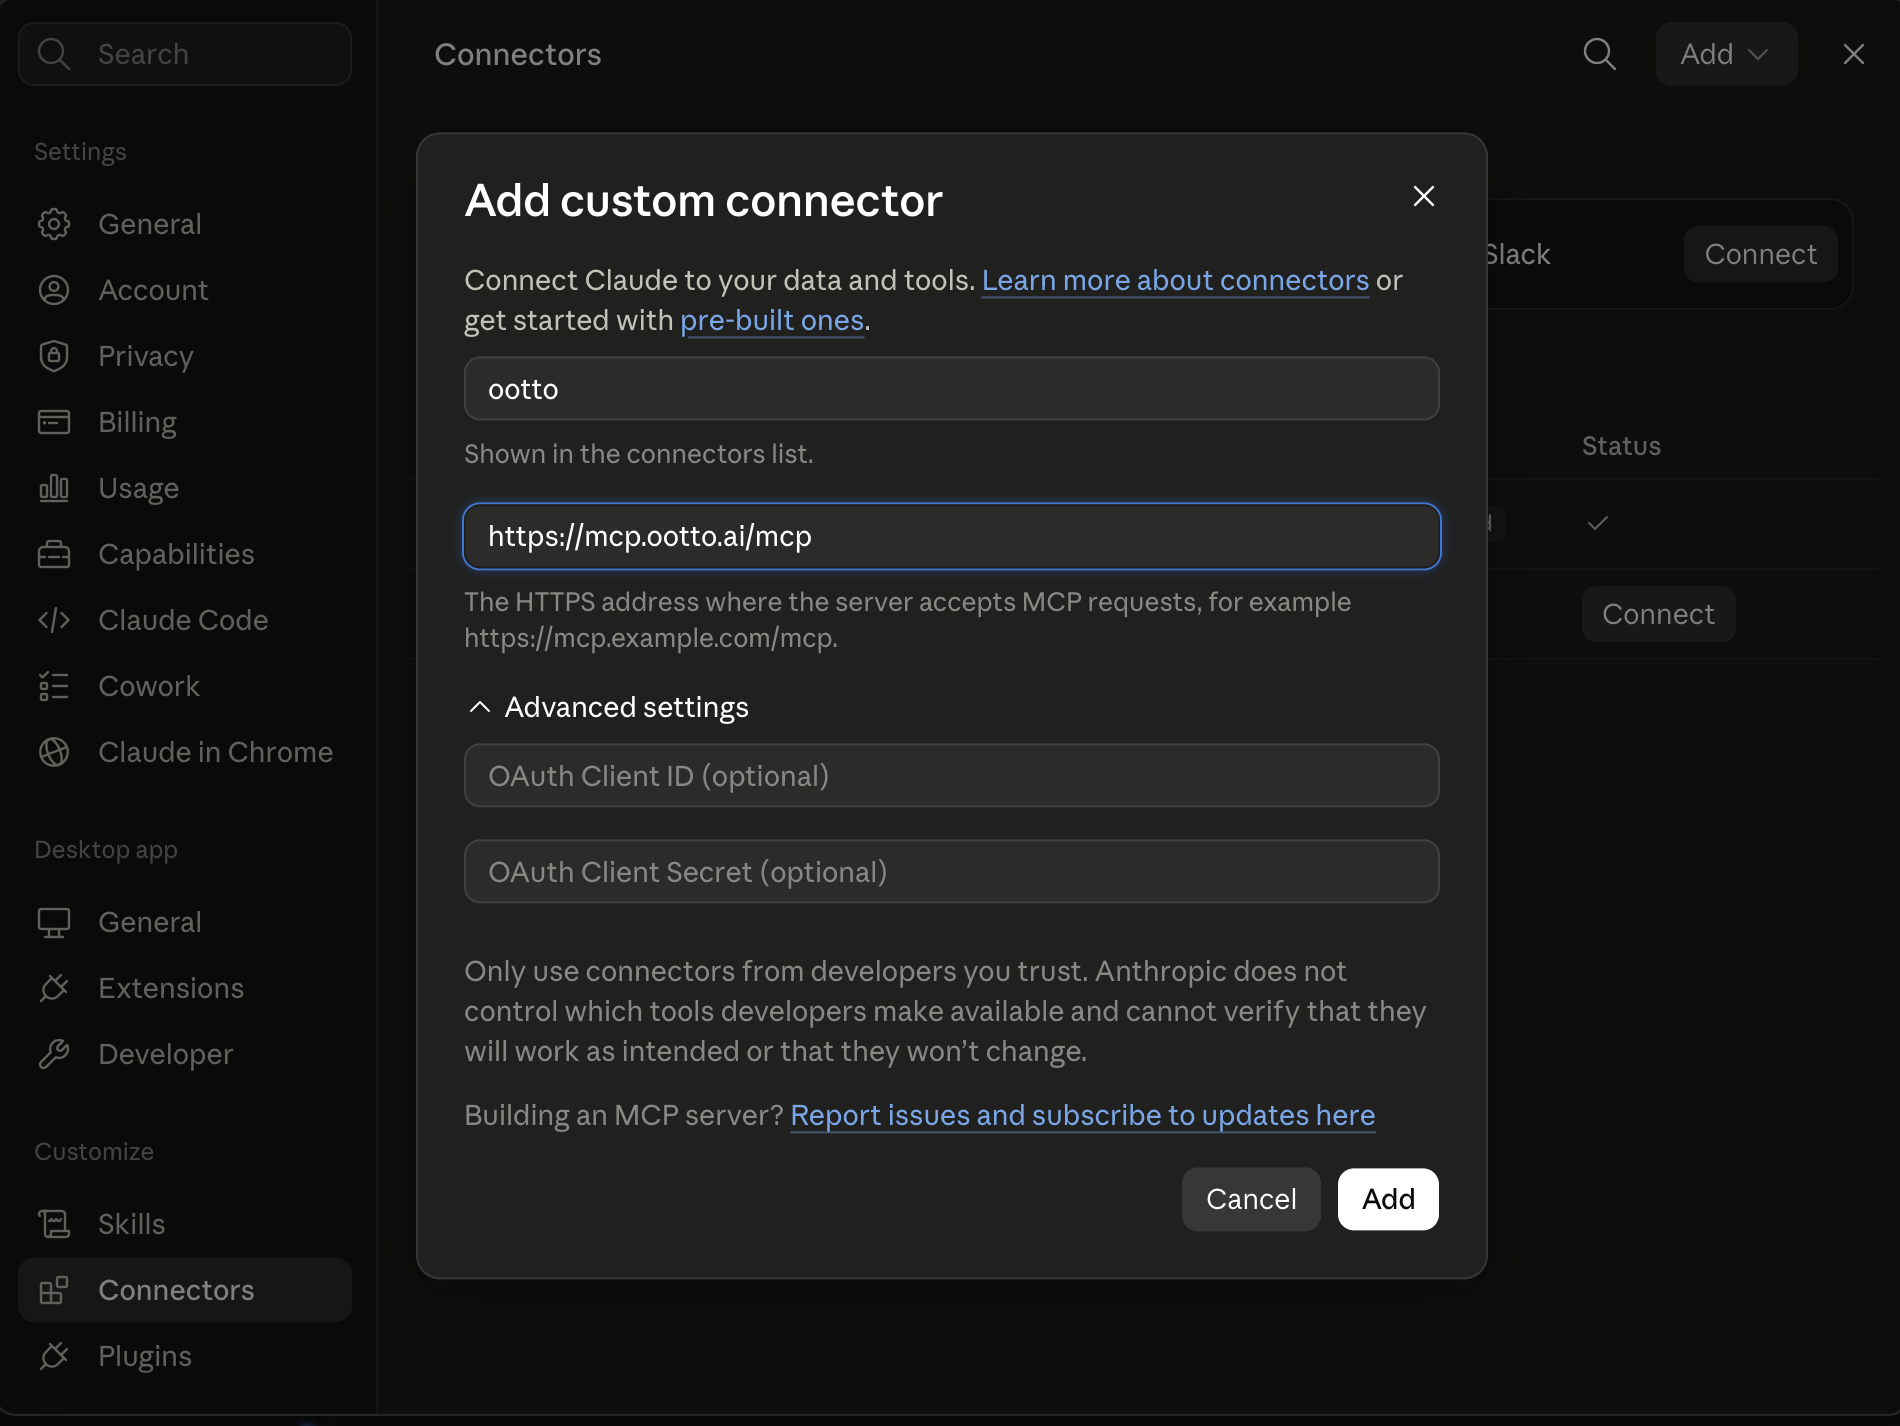
Connect above does this for you. If Claude ever opens the dialog empty, here's exactly what goes where:
Traffic was never the finish line here. 2,010 visitors came in from Instagram, and by itself that number proves nothing — the only question that mattered was how many of those visits turned into a real comment, a DM, a lead.
One post carried 81% of this campaign's sessions. The pull also showed 31.1% median scroll depth across 727 sessions, and source split showed 83 Google visits with 0 conversions — a reminder that visits and customers are two different metrics, and a channel can win on one and lose on the other.
2,010 of the visitors to this campaign came from Instagram, and almost half were brand-new traffic. One post carried 81% of that flow. Traffic is the input; the system below is what turns it into people we can actually follow up with.
The thing we gave away: free MIT repos
The growth setup is not a mystery. The buildable, shareable engine is two public repos:
That stack gives you the same primitives we use for content:
- identify what is already performing in your niche,
- turn it into reels and faceless script output,
- publish reels with caption and hashtag flow,
- wire comments to DM-led lead capture.
For a live account, this is the difference between “trying content” and an actual loop.
We also keep one honesty note in this post: GitHub itself only showed 13 visits from 2 people in our source sample, so we do not present GitHub as a traffic source.
What the data changed
The first question was never “what sounds good.”
It was:
- where proof appears,
- where readers stop,
- what drives a real action after they stop.
Return the last 25 posts with view counts, dwell time, and first-scroll-stop depth.
Returned one post with 81% traffic concentration and many low-volume outliers.
Filter those rows by source to split Google, social, and direct, then show the action trace.
Returned 83 Google visits, 0 converted in this measured slice.
Show the first 1200px of the weak row set and flag proof sections above the fold.
Returned repeated late-proof structure and ask-heavy starts in the weak rows.
The end-of-post asks were not the problem. The sequence leading to ask was.
The system we now run end to end
Route A — do it yourself with free repos
- Install the two repos and connect your own MCP/composio tools.
- Pull reels and references from your niche.
- Use the pipeline to build and post faceless reels.
- Post the reel with a clear call to comment a keyword.
- Let comment-responder handle the reply + DM and lead list.
This is entirely reproducible with your own account and MIT tools.
Route B — let Ootto run the loop
If you want this system operating without wiring every connector yourself, sign in and run the same workflow from the dashboard.
What we changed in our own publishing process
The big change was not content shape; it was distribution behavior:
- proof first, ask later,
- first-screen outcomes before call-to-action,
- weekly audit before publish.
The control comparison from the connector walkthrough is still the one data line that changed our confidence:
- 0% bounce,
- 221 seconds average time on page,
- 1 in 5 users reached product action,
- old flagship control at 97 seconds.
This is not a victory claim.
It is the same result note we keep repeating: the structure that gets users to a result changes behavior.
What did not work
It wasn’t the ideas.
It was the proof placement:
- duplicate how-to format,
- late proof,
- ask-first structure before observable outcomes.
When ask appears before the first proof, conversion logic can disappear even with traffic.
Create a one-sheet audit row per post: first-screen proof, first-scroll-stop, source split, and action reached.
Returned a standard for pre-publish quality checks.
Compare top and weak rows in the same week after moving proof to first screen.
Returned cleaner quality signal even before engagement totals move.
If a draft does not help someone in the first screen, then no amount of styling will make it reliable.
The acceptance rule for every next draft
No draft ships now without these four checks:
- first-screen proof,
- first-scroll-stop context,
- source split check in the same pull,
- action trace after first fold.
The goal stays boring and strict:
- fewer dead posts,
- clearer rewrites,
- fewer false positives around what “works.”
Visitors are a number on a dashboard. Customers are the only number that pays for the reels. Everything above exists to close the gap between them.
Route A: do it yourself
Start with the exact free skill for this outcome
MIT, no account, no email. Install first, then run the command for your account.
For this outcome: Content Factory
git clone --depth 1 https://github.com/Ootto-AI/claude-content-skills.git && bash claude-content-skills/install.sh
Installs the free MIT Content Skills bundle into ~/.claude/skills in one shot.
/content-factory - my niche is [niche], model this reel: [reel URL], my handle @..., CTA keyword GUIDE
Runs the full pipeline order for the post: research, hook, script, build, caption, and comment-to-DM lead setup.
Route B: let Ootto run it
Ootto replicates this on autopilot
Open the dashboard, connect once, then let the pipeline handle research, production, and lead replies.
Open the connector dashboard
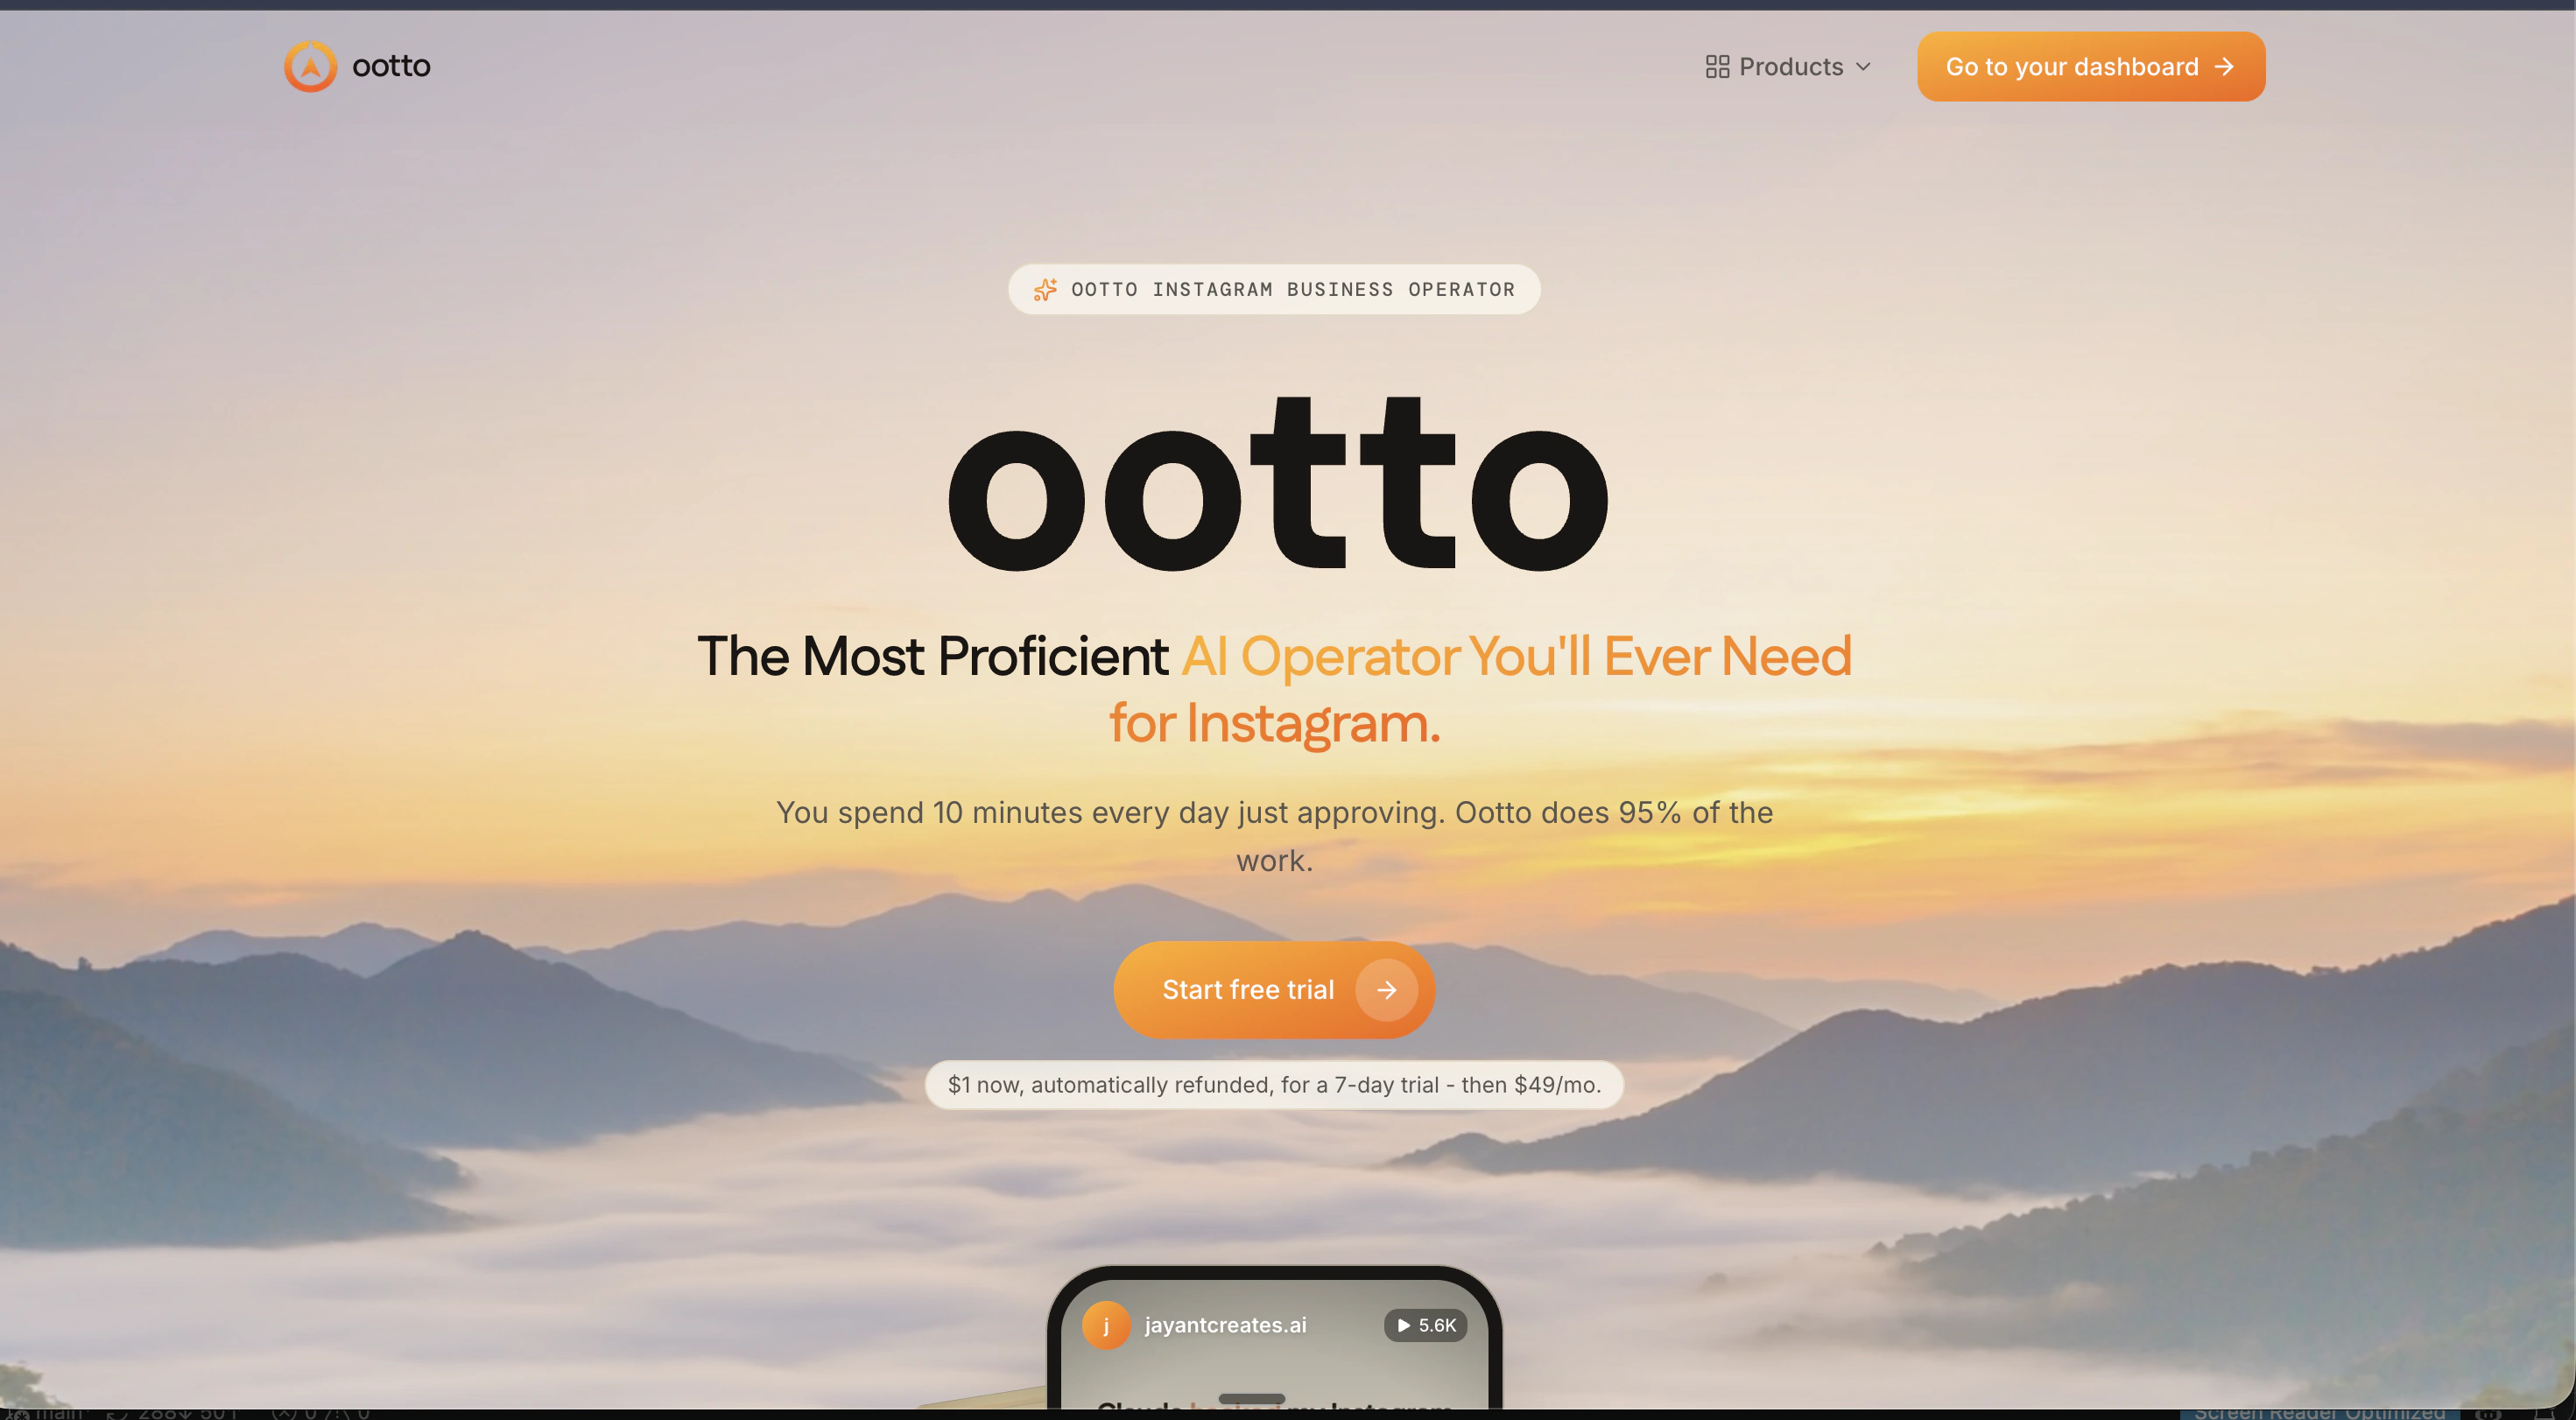
Go to /content/login, sign in, and open your Ootto content dashboard.
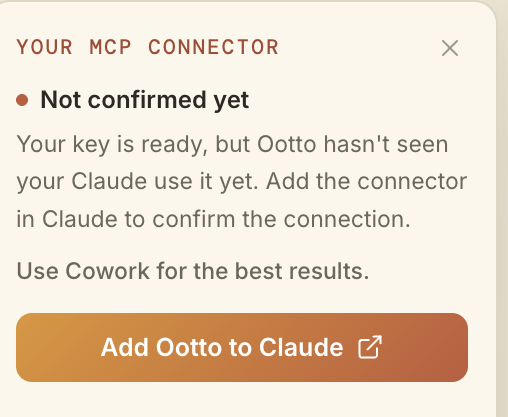
Add Ootto to Claude
Use the one-button Add flow so Ootto appears in Claude's Connectors panel.
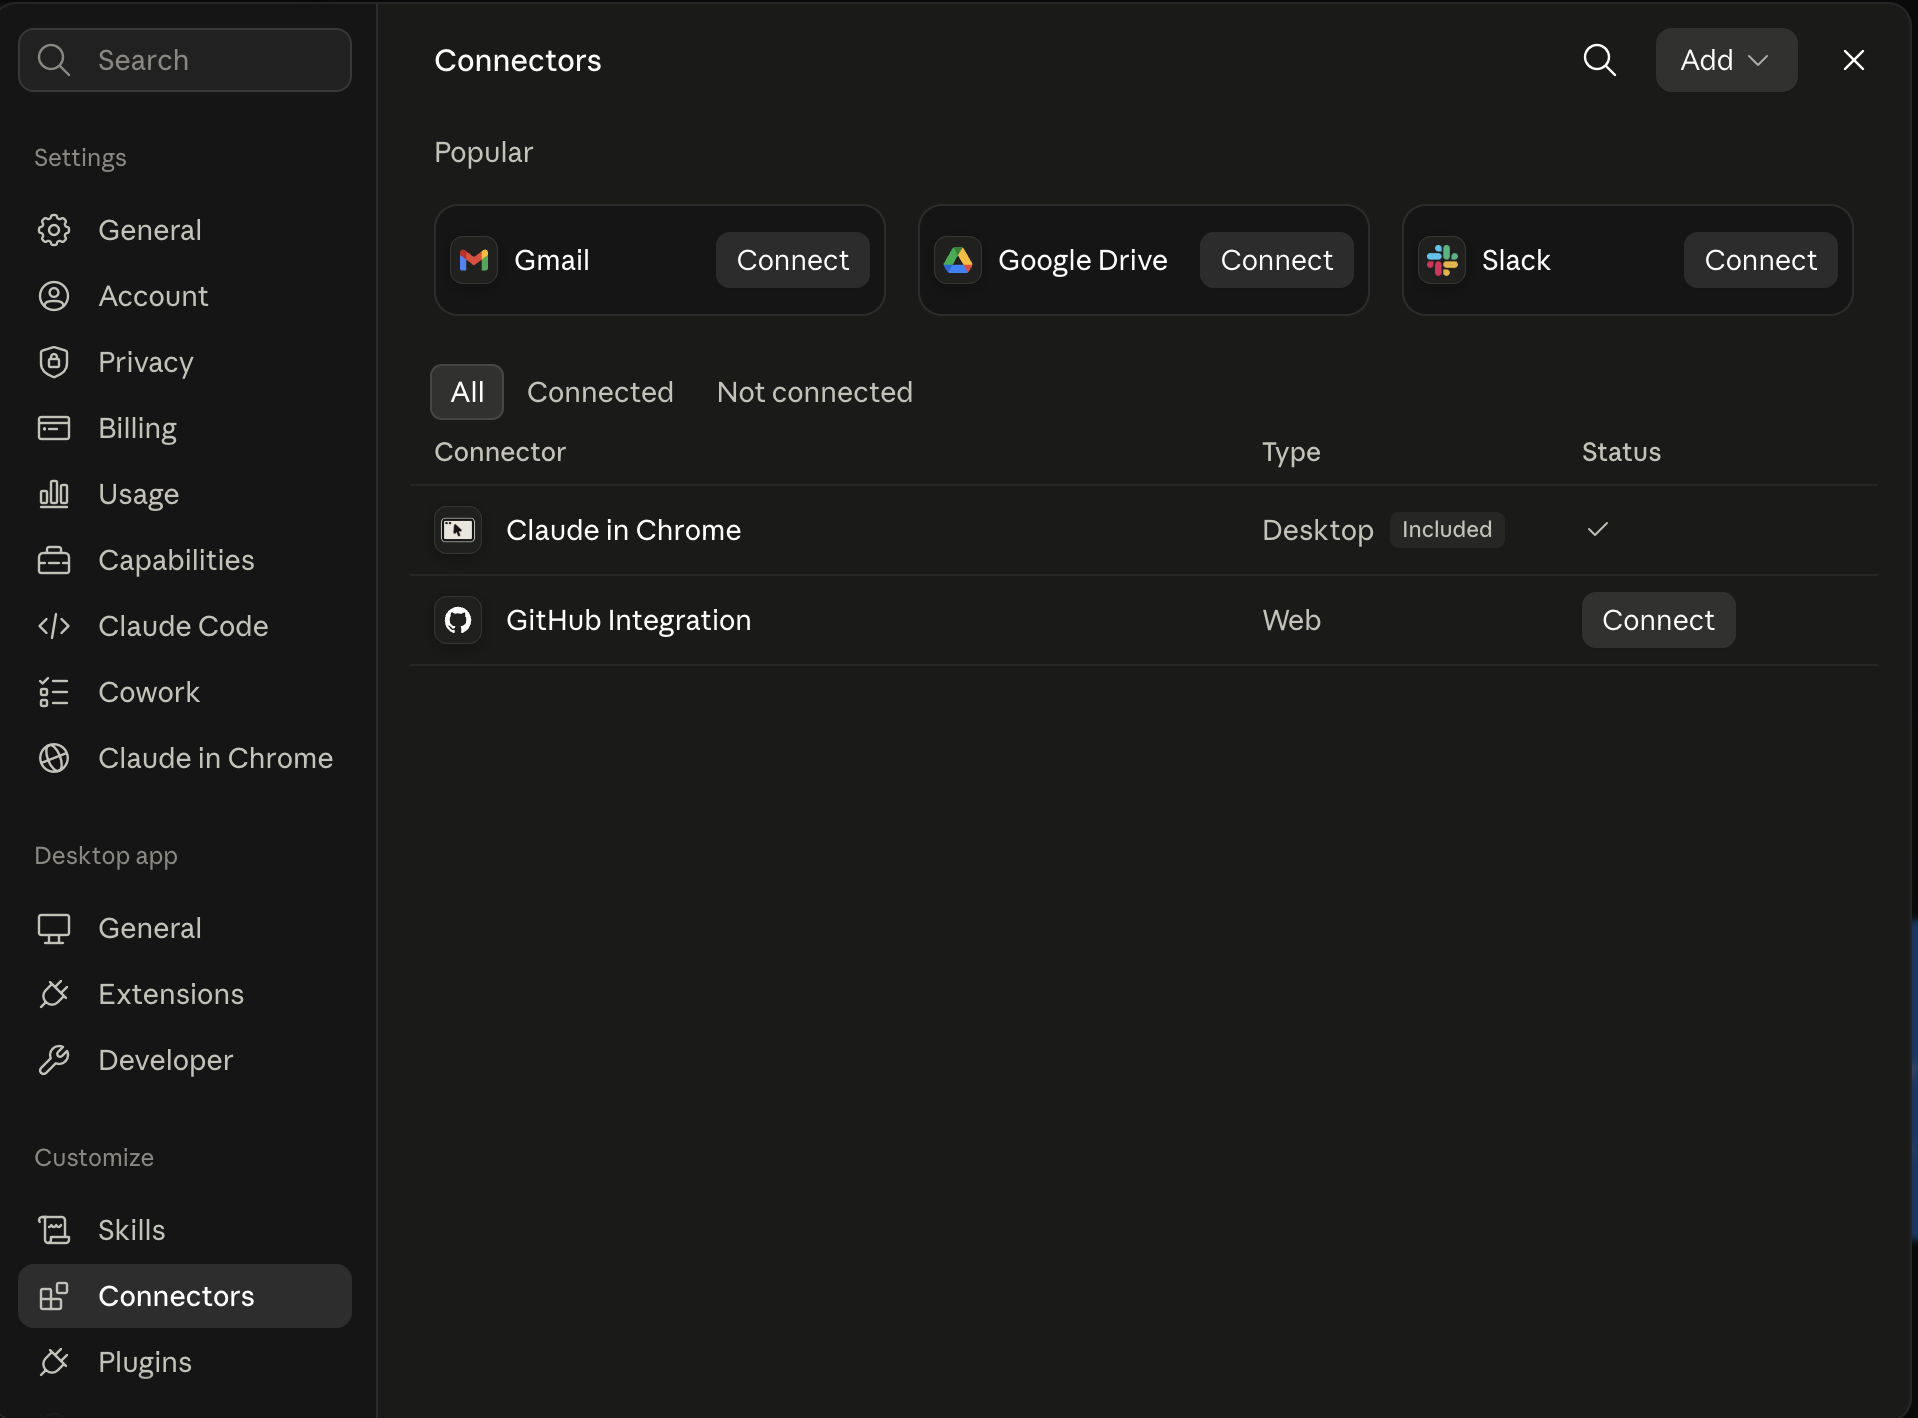
Claude shows the connector
The connector lands in Claude's Connectors settings, confirming Ootto is wired.
Board reads back your context
Your audience, pillars, voice, and creator signals are filled from account context.
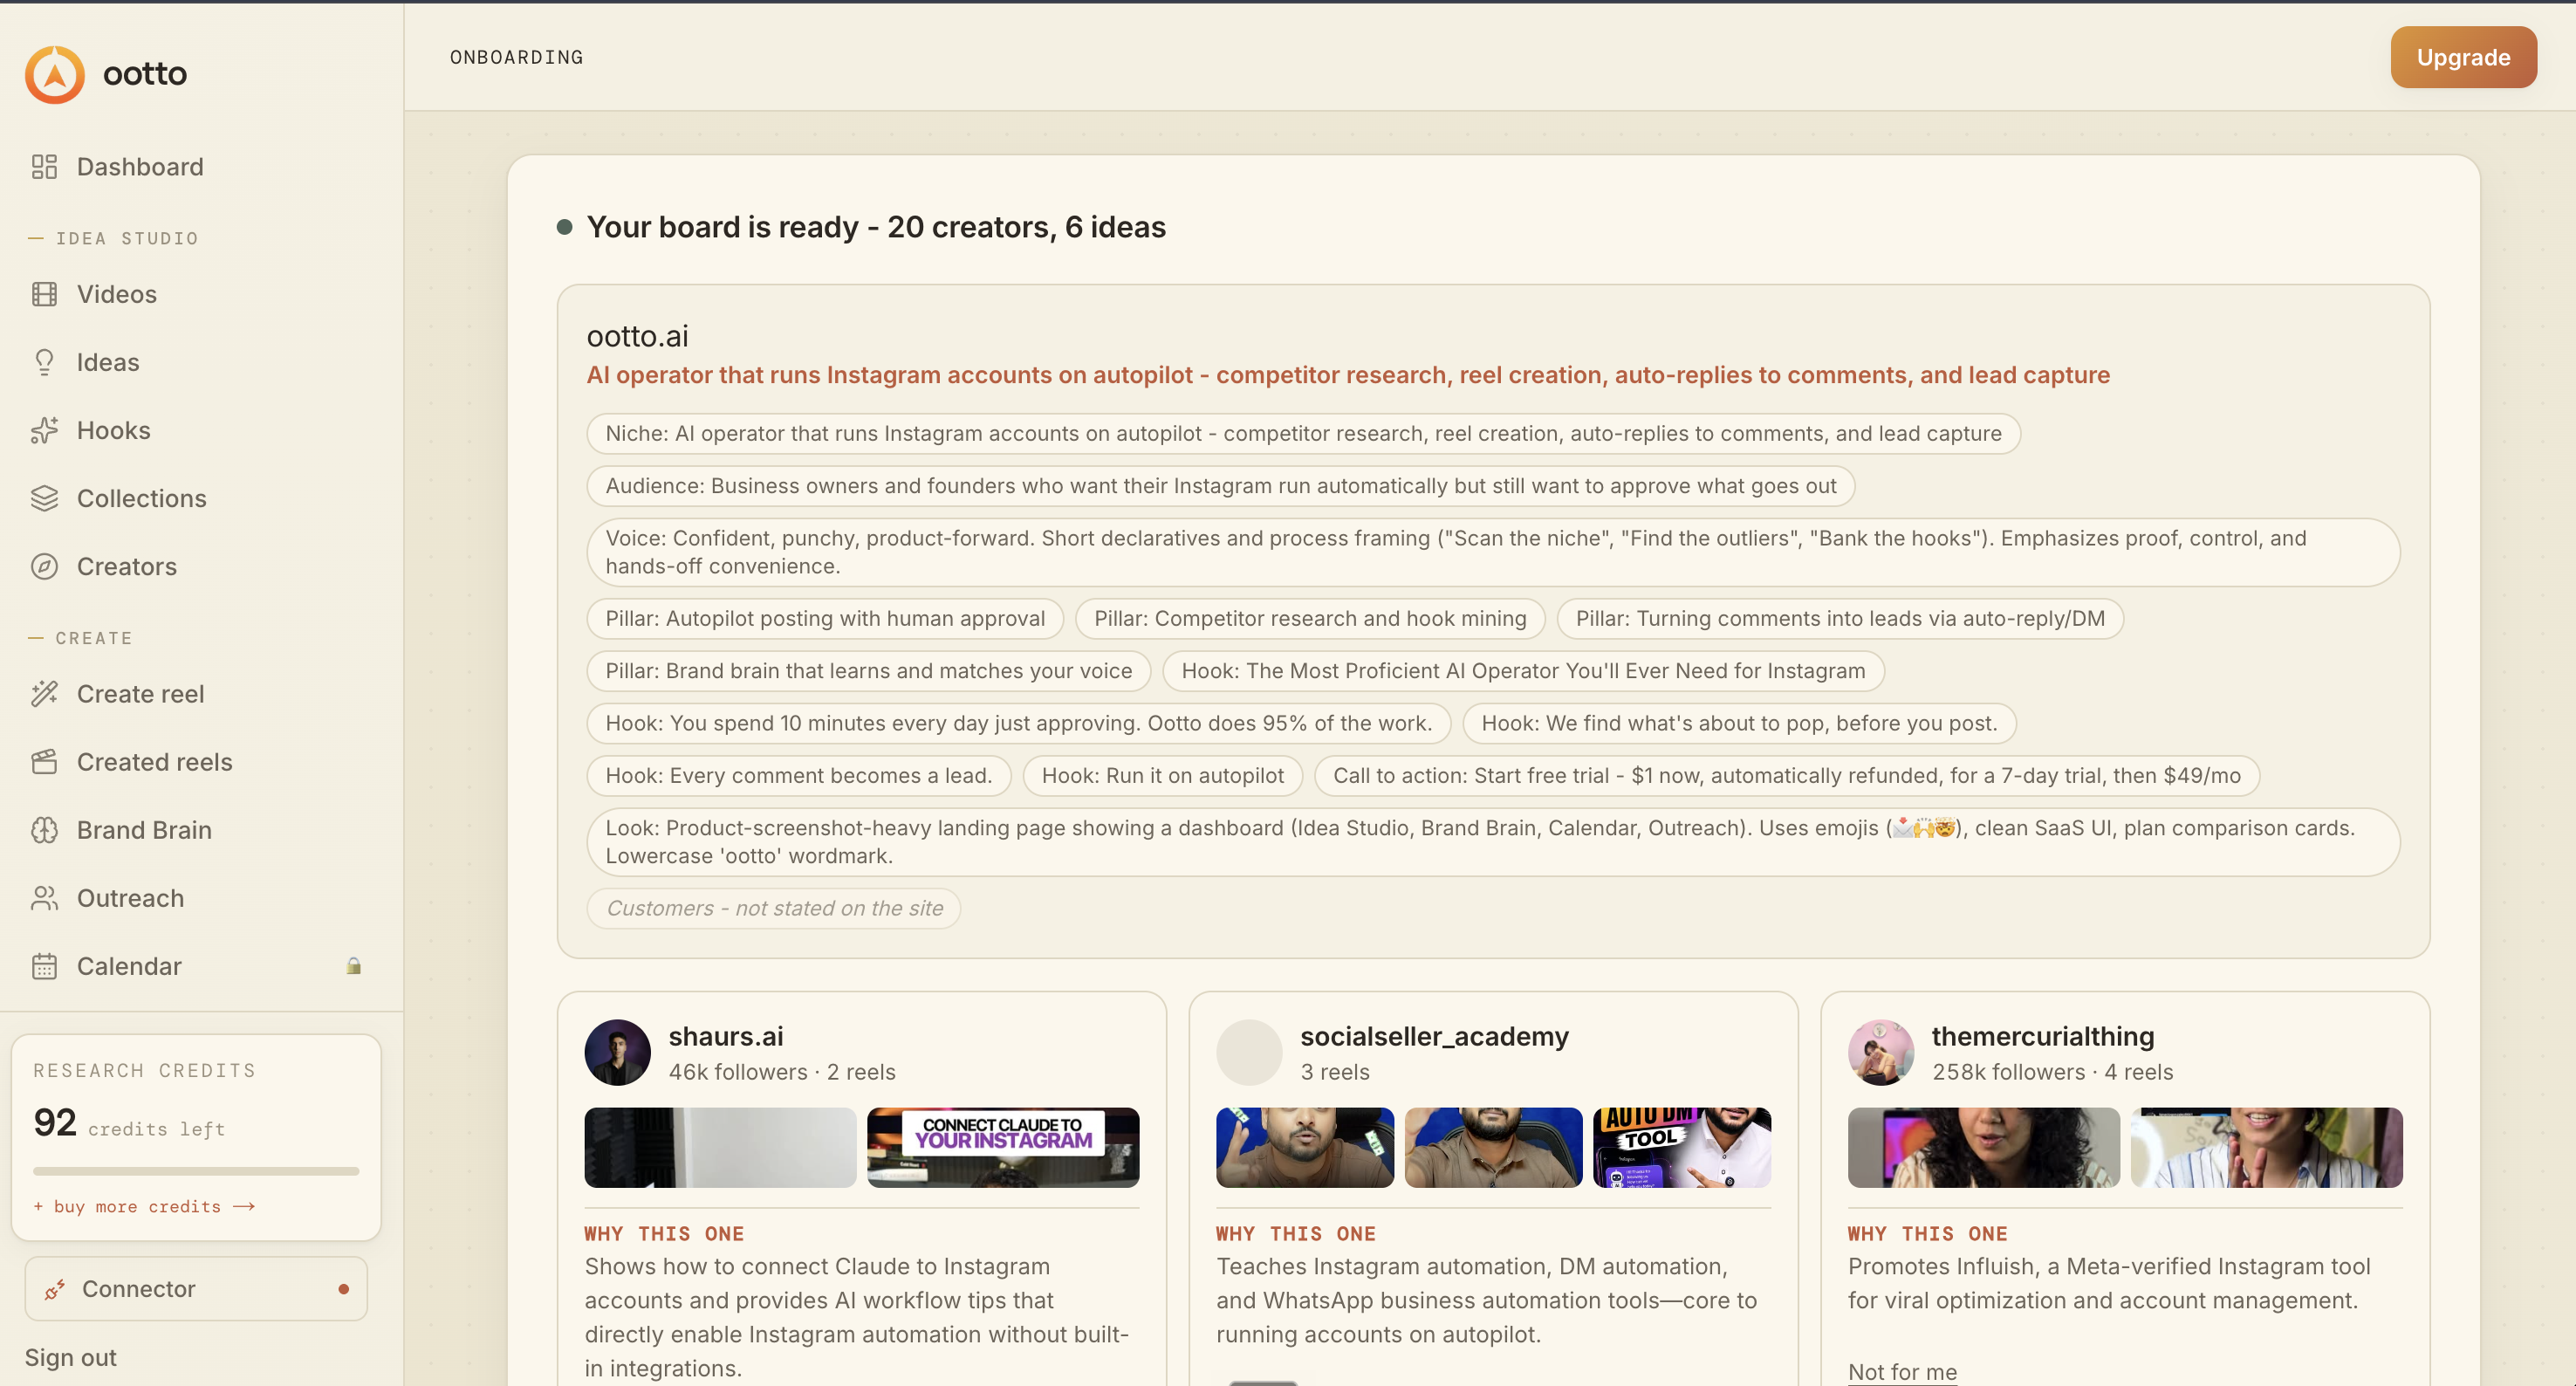
What is actually working now
Ootto pulls what is moving in your niche and loads ranked examples in board.
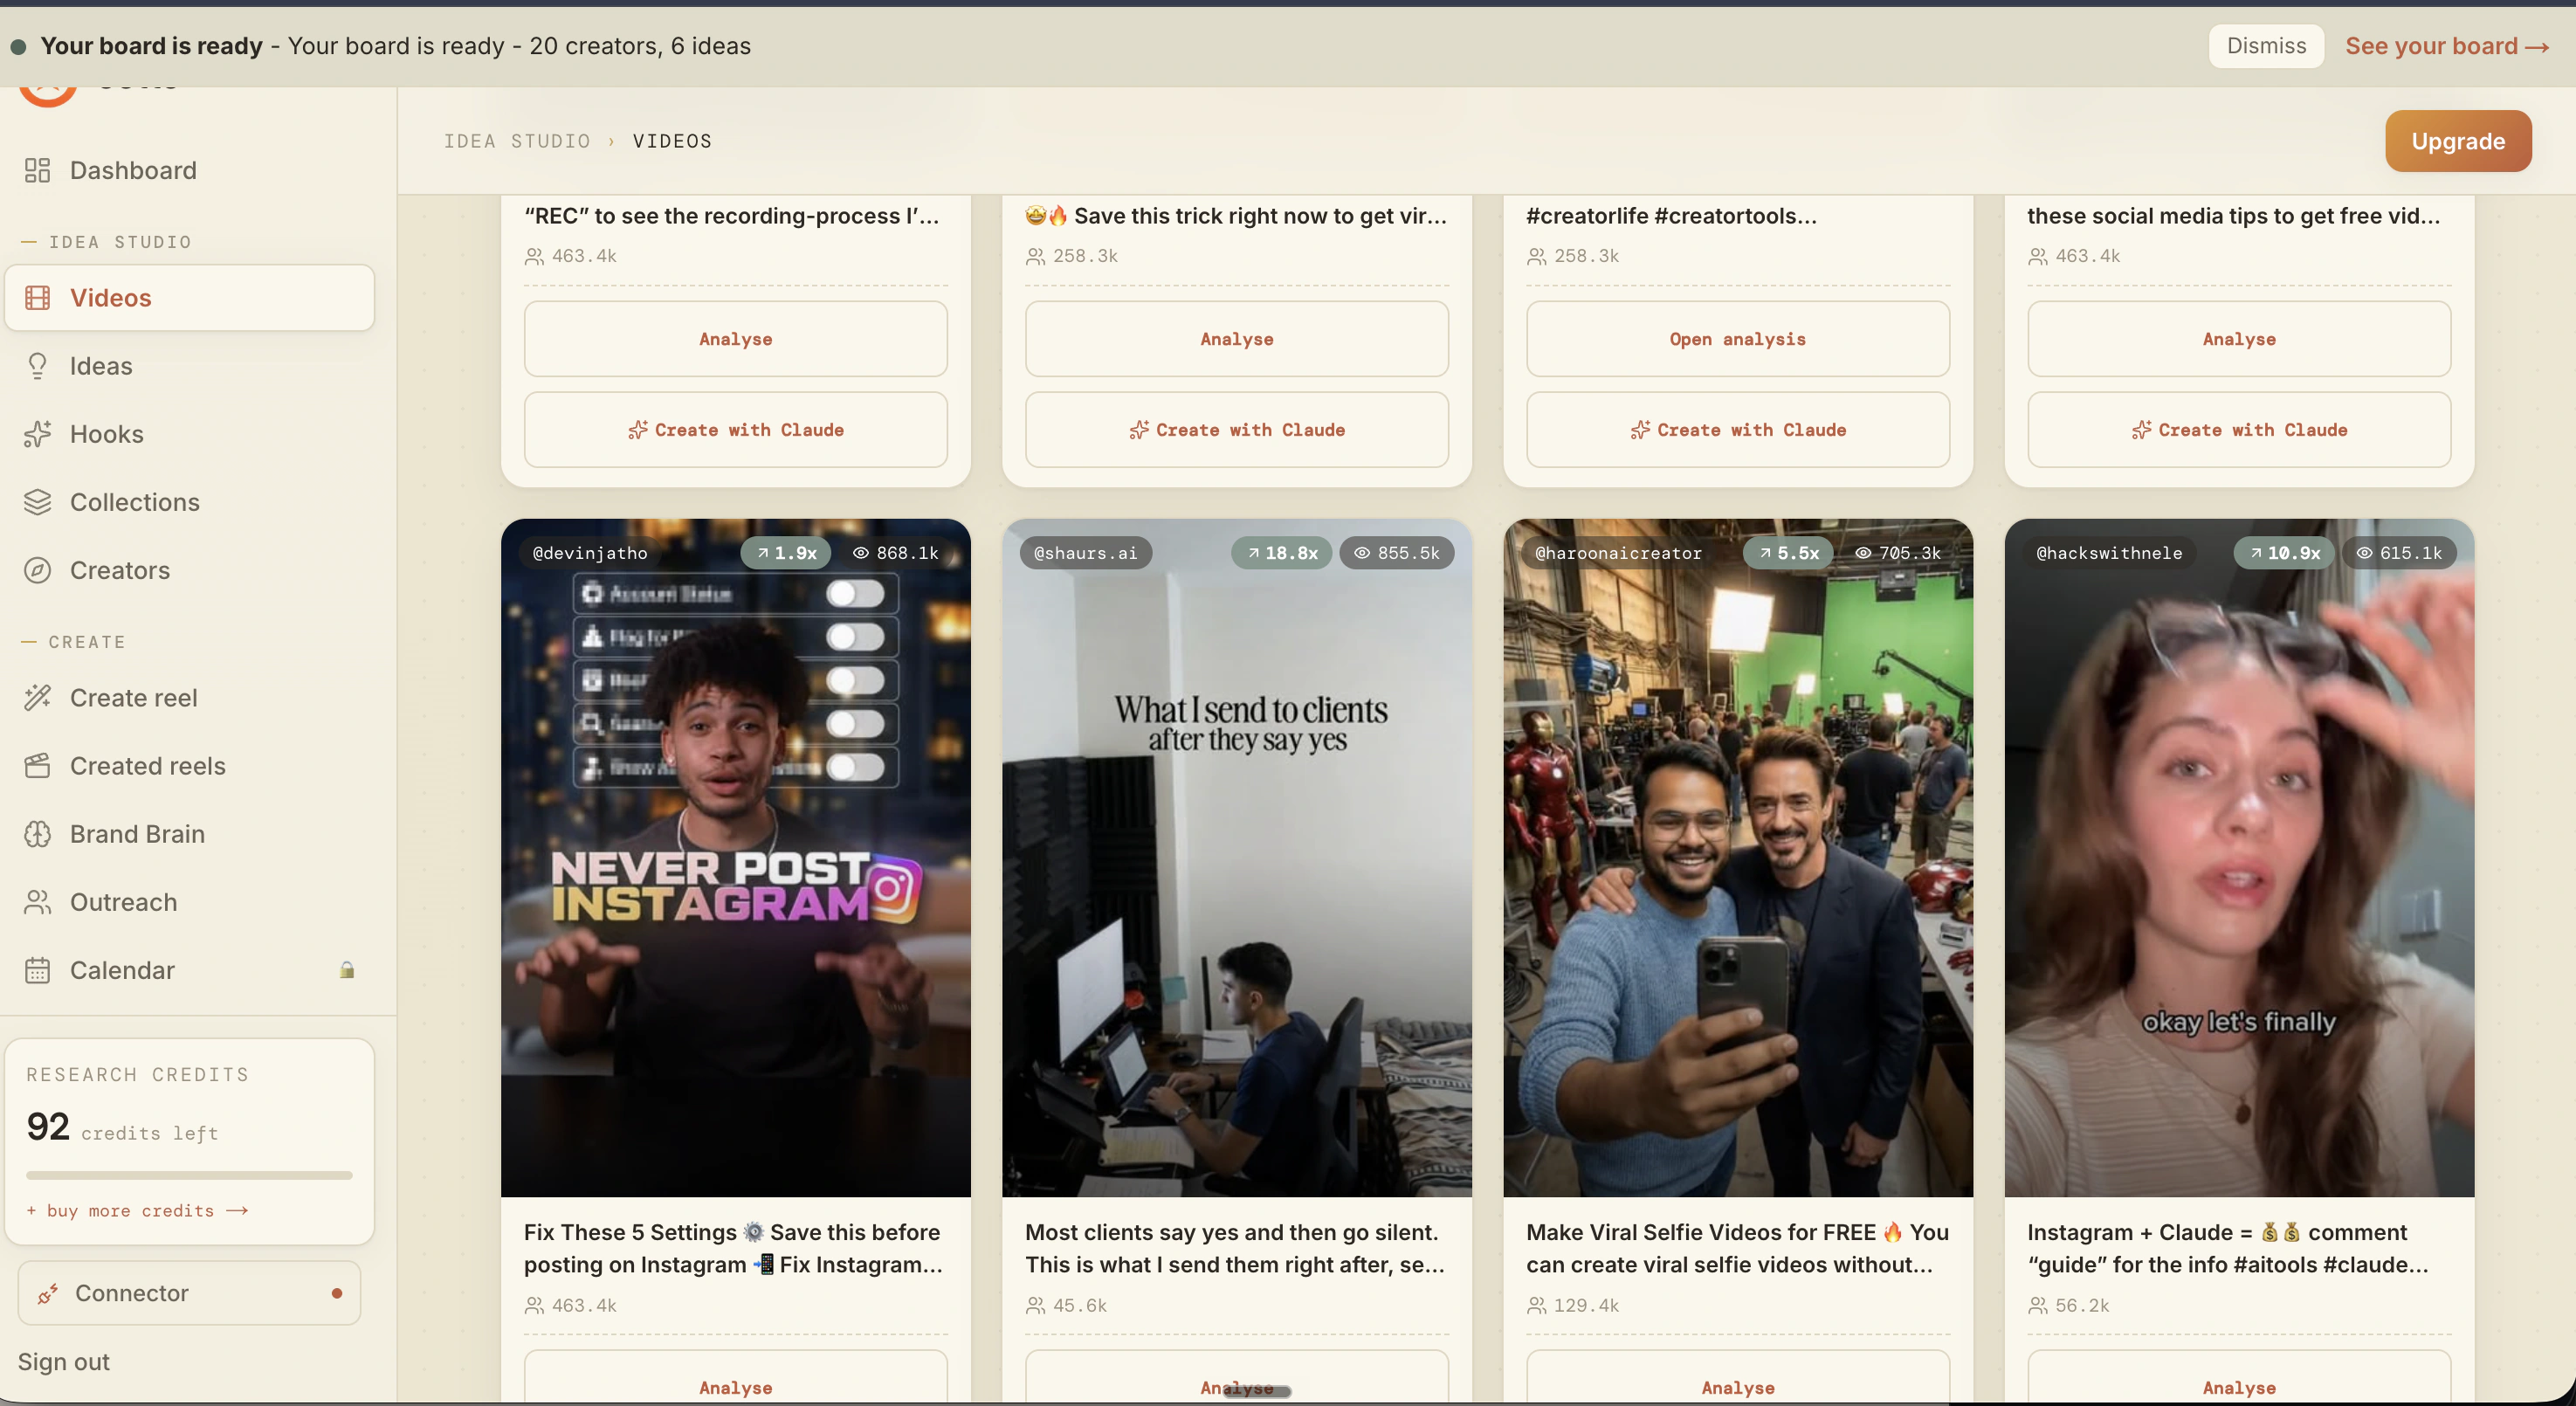
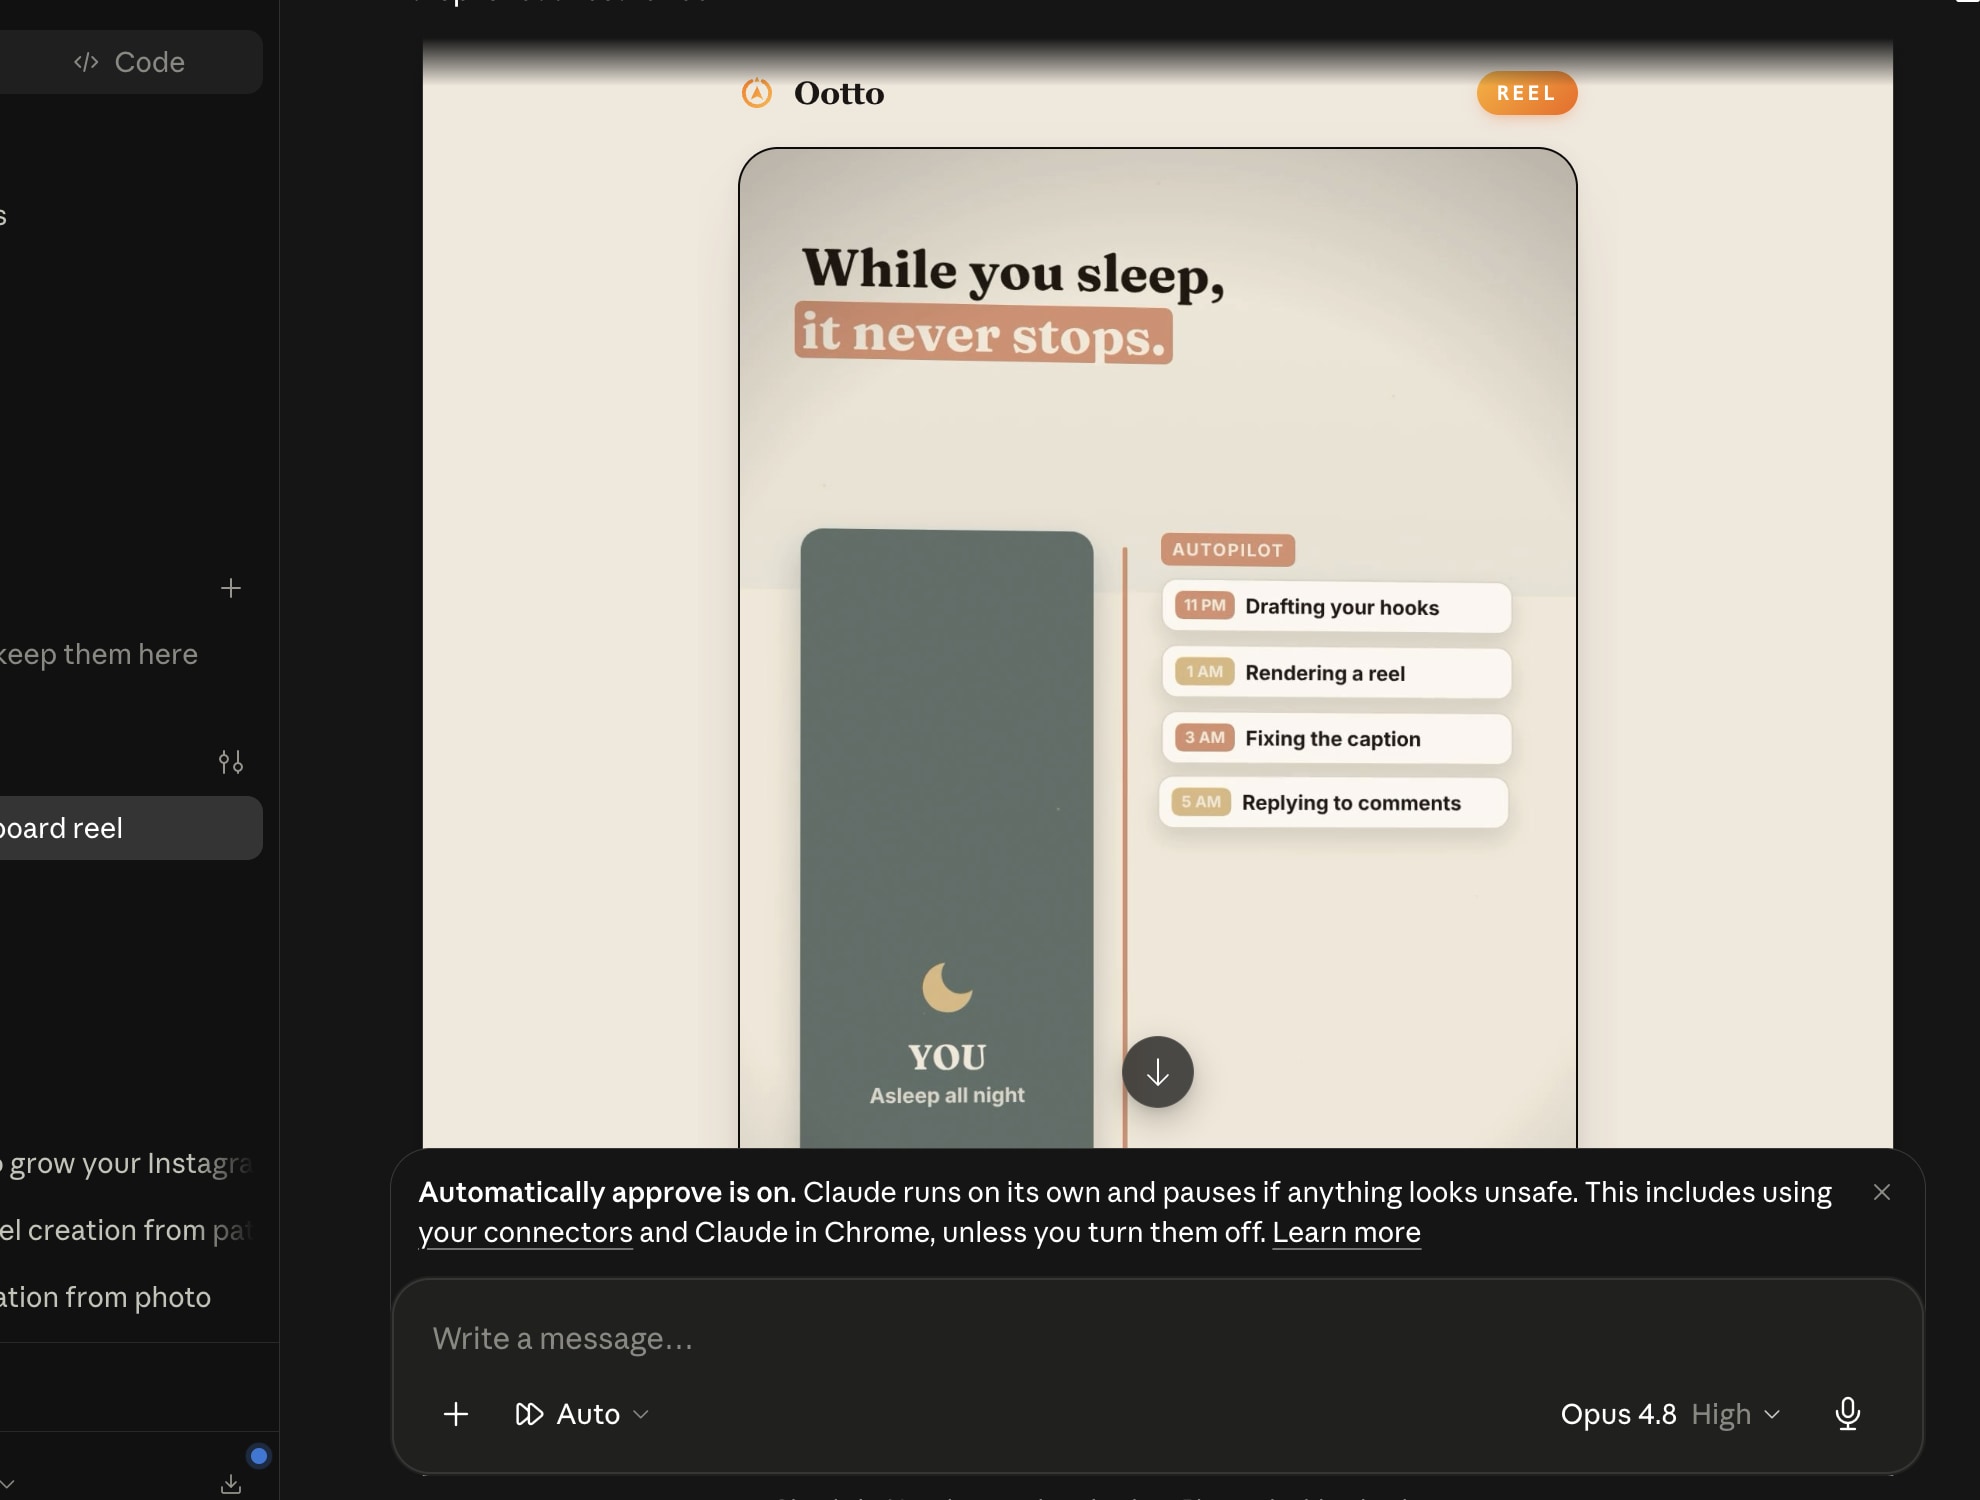
Reels post, comments get answered
Finished reels publish to Instagram and comments are answered with public replies plus DM follow-ups.
Get started